1.27.2012

DIY ~ How to Sew a Heart on Your Sweater

You know how you sometimes buy that sweater because it's on super sale & it's hot pink & it's really cute & it's hot pink & it kind of looks vintage-y & it's got the perfect v-neck & it's hot pink!!! Then 2 years later you're looking through your closet & you see said sweater & it still has the tags on it. What!  Now the only problem is- besides the pretty color- it's seems kind of boring... So with Valentines around the corner why not put a ♥ on It!


    What you will need
     sweater
     scissors 
     paper
     pencil
     fusible interfacing
     scrap of fun fabric- preferably cotton weight
    {not pictured- seam ripper}


 1~ cut out your heart- I cheated & used a paper heart stamp cut out 
{if you are going to draw your heart, it's a good idea to fold your paper in half & draw half a 
heart then cut the half heart out & open the paper to get two even sides to your heart- although an uneven 
heart would also be pretty cute}

 2 ~ trace your heart onto your fun fabric. you won't see the marker so use 
black sharpie if you want- then cut it out


3 ~ set the heart on top of your fusible interfacing & cut out duplicate heart 
{make sure shiny side of fusible interfacing is touching wrong side of your fabric- use directions that 
come with your fusible interfacing if you need to}

4 ~ Iron together- using medium heat- this will keep your edges from fraying as 
well as keeping your heart from from wrinkling

5 ~ pin it to your sweater - one pin in the center will work
{go look in a mirror to see where you like it best- yes this is a different paper heart. 
I had my friend Amy take this picture while she was over for a play date}

6 ~ turn your sweater inside out & push on the heart so you can see the 
outline of your heart

7 ~ place your fused heart fabric side down using the outline of the heart on the 
other side as reference for where to put it

8 ~ use a pencil & draw little dots around the heart
9 ~ unpin the heart on the other side 
{pencil mark doesn't need to be too dark}

 10 ~ pin your heart on starting with a center pin- using the 
pencil marks as a guide 

11 ~ sew it on! 
{I sewed my seam close to the edge of the heart & sewed around the heart twice}

12 ~ turn your sweater right side out. take your seam ripper & carefully 
put a hole in your sweater 
{being careful not to go through your cotton heart}

can you see the yellow polka dots peeking through- now you have a hole 
ready for your scissors to start cutting away

13 ~ cut as close to the seam as possible going around the entire heart 

wha la-  cute eh? 


 here's a mirror pic so you can see the cute polka dots a little better- I flipped the pic so 
you all didn't get confused by the heart being on the wrong side- 
{no I don't think you are dumb- I just didn't want you to be confused}

* check out some of my other Valentines Day diy's here, here, here, here, here

1.15.2012

1.08.2012

Happy New Year!

Just a little late on this post but super excited about this up coming year! I don't think I'll be setting any resolutions but I do have a ton of stuff I would like to accomplish this year- I just don't want the pressure to HAVE to do them- maybe that way they will actually get done. One thing I do want the pressure of getting done is a few tutorials I've had on my mind for years. So stayed tuned for those- cause they may actually happen!

Here are a few instagram pics from the past weeks. NYE at our house & a few other happenings.

couldn't resist the hot pink balloons from zurchers 

early countdown with the kids = extra fun/ loud noise

ida destroying our 0

dance off -husband cheating 


made a new years sign out of pipe cleaner & yarn. I started wrapping the sign with yarn about an hr before the party started & finished with help from my friend megan she also does lashes in NYC

pipe cleaner tutorial found here- I used three pipe cleaners together
to make my happy new year thicker. I got a tip from another person to use 
floral wire instead of pipe cleaner- since pipe cleaners doesn't come very long & 
floral wire can be cut to whatever length you need it to be- next time...


this happened one night when my bestie chris came to pick me up for dinner-  I changed...

we celebrated 5 years!!!!

this is what happens to some people when you get married in your 30's! 3 kids under 3 1/2 ...
  
ever wonder where we got the name reyn from? this is reyn soffe we like him a lot- did I mention he's married to the megan who helped with the HNY's sign- we like her a lot also

12.24.2011

Christmas Round Our House 2011

I'm already sad Christmas is almost over. I'm still making new Christmas decorations! Why? Who knows! Sometimes I like to change things up around the house. This year I made or bought a few handmade items to add to our christmas decor.

christmas shelves- land of misfit toys- santa's galore- mix of vintage

we decided to go gold again this year with unbreakable ornaments

we also got a new tree topper at the beehive bazaar

my new friend courtney made this {isn't it gorgeous} as well as the blue house above & the santa shoe filled with vintage goodness

christmas tree collection & stockings- minus reyns {not going to get to it this year}


*** Also if you love christmas music as much as I do- check out this cover of Rockin Around The Christmas tree my brother in law Benton Paul & his wife Jen - I ♥ it soooo much!

12.15.2011

So How's Everyone?

I've been the worst blogger lately! I blame the insane amount of pom poms I have been making. I ended up making 6 wreaths for my local shows- yes I said 6! Each wreath had approximately 66 pom poms. So that's 6 x 66 = 396 pom poms! Let's just say I'm a little over pom poms & I still have one more wreath to make- but it's top secret who it's for....


I haven't even shown you the pom pom trees I made. Super cute & kind of fun. Baby pom poms are so much quicker to make than the big ones. 


12.11.2011

DIY: How to Make Bottle Brush Christmas Trees

I've been wanting to make bottle brush Christmas trees for years- so when a few of my girlfriends put together a craft night to make them I was in! I decided to put together a little tutorial for any of you out there who would like to make your own. It's really easy- but beware- it is a bit time consuming. If you can get together with some friends it helps with costs & makes the night so much more fun! 

1) start by buying some village accessory trees- we found Home depot had the best deals but your local fabric or craft store will have them as well

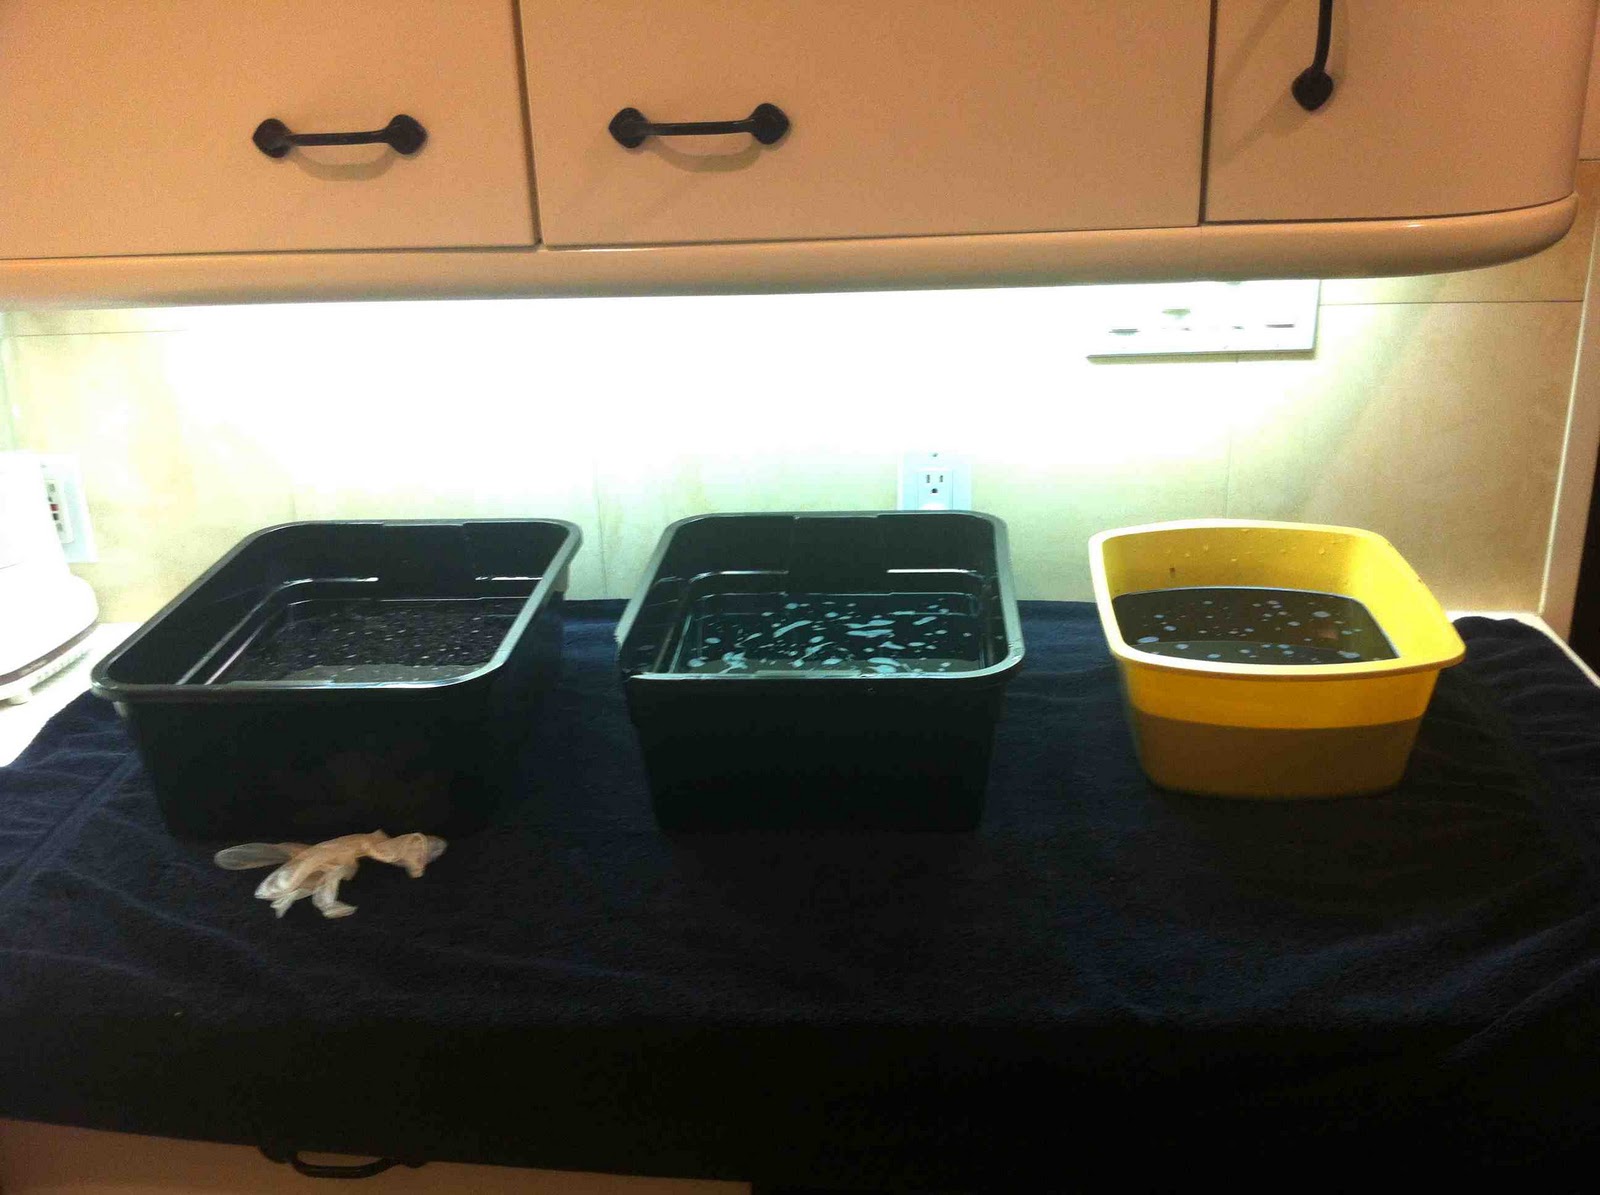
2) grab a pot- fill it with water & bleach {follow direction on the bleach bottle for the water to bleach ratio then add a bit more} I left mine in over night

3) let them dry standing up- otherwise the brush will smoosh

4) buy some dye- we used fushia- kelly green & blue rit dye

make sure you use gloves! I actually used gloves but then put my hand in just a little to far... they were short gloves!

5) set them out to dry again- this time have a fan blowing on them so you can get started with decorating ASAP. they'll turn out darker the longer you leave them in- lighter if you put them in for just a few seconds

6) decorate the trees with glitter or fake snow-we used Martha Stewarts glittering glue to glue the bling on. spread it onto the trees & then roll your trees in the glitter or snow.  

you can see the pretty-ness happening already!

7) cut up your beads & hot glue them onto your trees {we used colorful mardi gras beads from the party store zurchers - martha stewart pearl colored beads & holiday gold & silver colored garland beads from joann's}
     

8) make sure you have your big gulp of diet coke/diet dr. pepper even if it's 10 pm...

9) add some deer or whatever & Ta-Da! {these trees have gold glitter on them- it's hard to see in this picture but they're really pretty}


I used wax paper snow on the trees below- just an FYI the glue didn't really keep the snow on very well so I ended up spreading the hot glue on the trees a little bit at a time- then rolled the tree in the snow


Related Posts with Thumbnails