
I've been wanting to make bottle brush Christmas trees for years- so when a few of my girlfriends put together a craft night to make them I was in! I decided to put together a little tutorial for any of you out there who would like to make your own. It's really easy- but beware- it is a bit time consuming. If you can get together with some friends it helps with costs & makes the night so much more fun!
1) start by buying some village accessory trees- we found Home depot had the best deals but your local fabric or craft store will have them as well

2) grab a pot- fill it with water & bleach {follow direction on the bleach bottle for the water to bleach ratio then add a bit more} I left mine in over night

3) let them dry standing up- otherwise the brush will smoosh

4) buy some dye- we used fushia- kelly green & blue rit dye
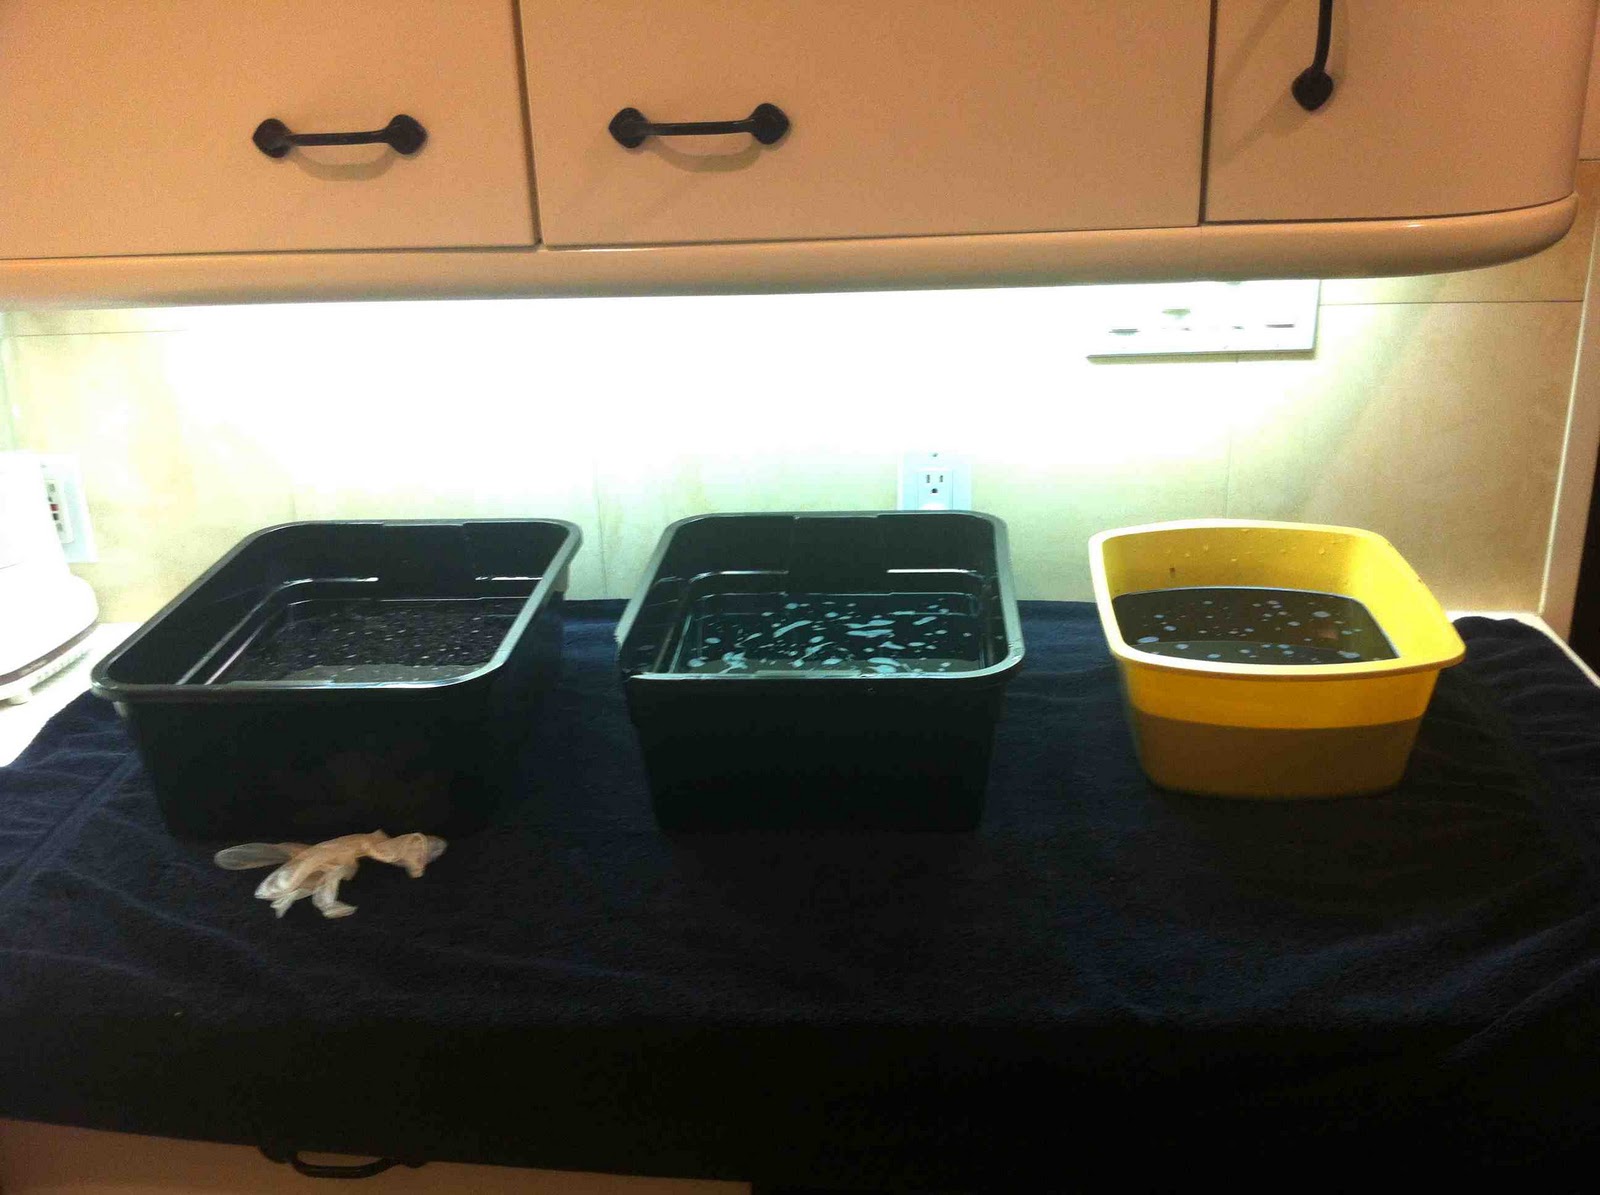
make sure you use gloves! I actually used gloves but then put my hand in just a little to far... they were short gloves!

5) set them out to dry again- this time have a fan blowing on them so you can get started with decorating ASAP. they'll turn out darker the longer you leave them in- lighter if you put them in for just a few seconds

6) decorate the trees with glitter or fake snow-we used Martha Stewarts glittering glue to glue the bling on. spread it onto the trees & then roll your trees in the glitter or snow.

you can see the pretty-ness happening already!

7) cut up your beads & hot glue them onto your trees {we used colorful mardi gras beads from the party store zurchers - martha stewart pearl colored beads & holiday gold & silver colored garland beads from joann's}


8) make sure you have your big gulp of diet coke/diet dr. pepper even if it's 10 pm...

9) add some deer or whatever & Ta-Da! {these trees have gold glitter on them- it's hard to see in this picture but they're really pretty}

I used wax paper snow on the trees below- just an FYI the glue didn't really keep the snow on very well so I ended up spreading the hot glue on the trees a little bit at a time- then rolled the tree in the snow

4 comments:
Great tutorial!! Although let's just say I'm glad this project is over and done with. Your trees look so pretty on those tray!
Thanks to the wonder that is Google, I just found this post! I couldn't find a step-by-step from bleaching to "frosting" the trees...but you covered it. Thank you!
thanks! i'm so glad it helped
thank you for the tutorial. So glad it was still here. Time to get ready for Christmas.
Post a Comment