I made it onto Studio 5! That's like pretty big time around these parts. Take a looksy at the video below.

2.29.2012
2.21.2012
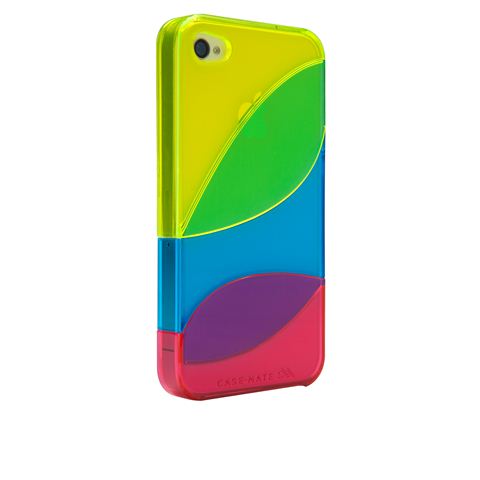
Fun iPhone Cases
I just got a new iPhone case & it's absolutely adorable! If you read my blog you know I love all things Japanese so how could I not love the one below. I thought I'd do a little post about a few of my favorite iPhone cases I've seen around the web.
the rilakkuma-
if you don't like the silly ears this is a great alternative- I will warn you that the off button on top is really stiff

they literally have thousands to choose from & every cover comes in a
print for your home or a cover for your ipad


deer paper doll- from society 6


color ways case- from case- mate
oh & it's on sale here for one more day!

fifi sonny & stella - from iconemesis

kitty pattern - from iconemesis

sometimes you just don't want to take your purse in...

If you've got a little more dough to spare
you should totally buy this brass case- it's all kinds of beautiful

2.16.2012
Get Excited
Have you heard
there's going to be a big party next week
& you're all invited? It's true! You should totally come. Shelby of the famed Soel Boutique & Jane of the famed See Jane Blog are putting this fun event together & they are hot stuff. So if you like tasty treats- yummy drinks & photo booths- you really must come. Plus there will be door prizes to the first 50 guests & they will also be doing giveaways all evening- you're bound to win something! Also I will be teaching you how to make yarn balls- so you would be crazy not to come!
So come- bring your man - don't bring your man- definitely bring your girlfriend(s)
It would be really great to meet you ~ check out the bloggers participating below.

♥ sponsored by ♥
*ps. Soel Boutique is also offering 20% off one item in the store during the event! Have you seen the clothing in her store? Such good stuff!
2.13.2012
Our Week In Hearts
Some going ons here at the Choules- Paul- Ulibarri home. Yes we have 3 different last names around here. We are hip like that.


we had a sugar cookie making party
we were in charge of the cookies-
my mom made all the dough- me & the little ones made all the cookies-
lots & lots of cookies

my "sort of" ikat cookie

friday nights

some V- Day staches

what we found on our wall-
seriously how did we miss this

reyn totally falling asleep while watching HOBH-
he obviously doesn't understand english yet

a visit from susan & her off spring-

made some heart necklace

this girl turned 4 on Friday!

this guy turned 14 on saturday!
& he's all of the sudden taller than me what!!!!

2.08.2012
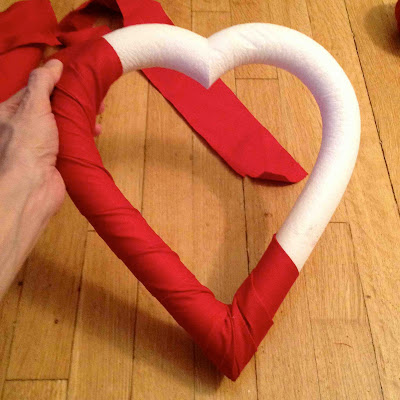
DIY ~ Pom Pom Heart Wreath
So I may have been going through pom pom making withdrawals- did you know I made over 300 pom poms during the Christmas holidays? It's true- I may have become a little addicted.


The goods
heart wreath
yarn- this wreath took 3 skeins
{I chose a red that had a sparkly piece of yarn running through it- I'm also addicted to shiny things}
pom pom maker
{you can use your fingers but you will never regret buying one of these- I promise}
fabric
scissors
short straight pins

1 ~ cut your fabric about 2 inches wide- the length needs to
be as long as possible but if you need to cut 2 or 3 strips that's fine also
{you can add to what you are doing at any time by pinning the new fabric down}

2 ~ pin the end of the fabric down at an angle on the heart
{you'll be wrapping the fabric around the wreath on an angle}

3 ~ wrap the fabric around the wreath until you are finished-
you'll have to manipulate the fabric around the angles of the heart- make sure to pin the end of the fabric down or any pieces you had to add to the wreath


4 ~ start making your pom poms!

5 ~ tie your pom poms around your wreath
{another option is to use a hot glue gun instead- probably faster}
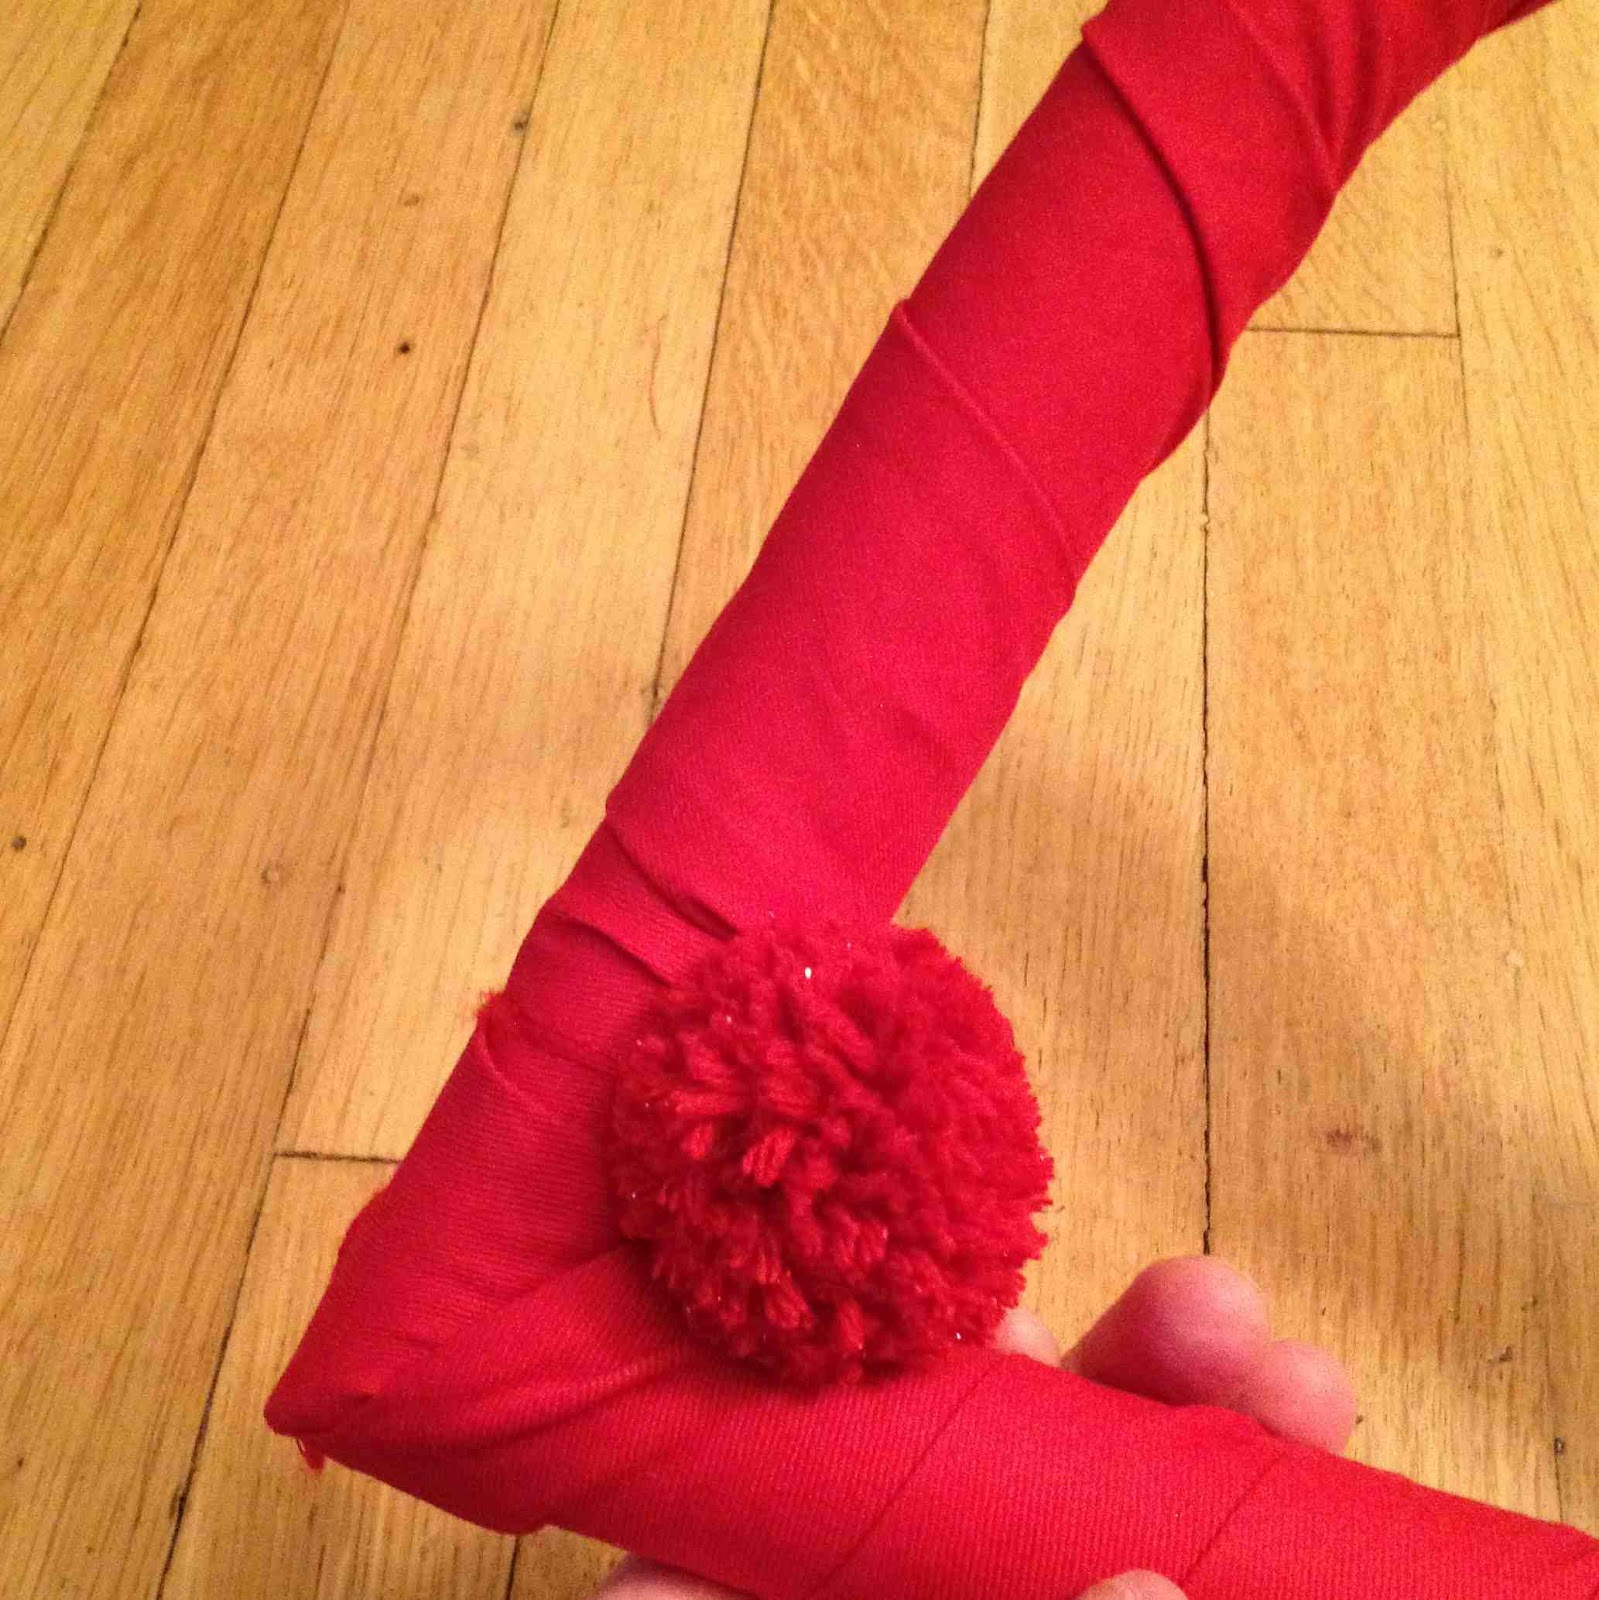
make sure to tie the pom pom in a double knot-
you can see where I pinned the ends of the fabric just below
the pom pom to keep the fabric in place

half way done!

this is how your back will look- such a mess!

5 ~ I like to twist all the ends around- kind of like twisting hair- pin the yarn down as you go
{I suppose you can just cut them as well- but I'm too scared the knots will fall out}

6 ~ cut off some yarn & tie it around the center of the top
of your heart making sure to make a loop- this is to hang your heart with

adorn with a cute deer if you want & if you can't decide

2.06.2012
DIY ~ Polka Dots & Gold Sparkly Heart Double Sided Garland
Ok folks this one is beyond easy! I wanted a garland that looked as good on the back as it did on the front- so I used glue instead of sewing it together.

All You Need Is - sorry I got ahead of myself & started before taking a picture
2 different kinds of paper {I used card stock from michaels}
heart punch {also bought at michaels}
string {I used yellow bakers twine}
glue

1 ~ start by punching out your hearts-
I bought a heart with a scalloped edge for a more vintage-y look
{I did 14 plain gold & 12 polka dot gold- remember these are double sided}

2 ~ measure your string & then fold it in
half so you have a center point to start with

3 ~ spread glue all over one of your hearts -
{use your little helper if you have one - that way you can spare your hands}

4 ~ set the center of your string in the center of your heart
making sure the string sits straight across your heart

5 ~ add your top heart-
if your heart is scalloped- make sure the edges match up

6 ~ set a book on top of your hearts &
apply a little pressure for about 10- 20 seconds to help set the glue

7 ~ use your book as a measuring guide if you like it's width-
I set my book at the side of my first finished heart then repeated steps 3~ 4 ~ 5 then 6
on the other side of the book
{the string is under the book- remember to pull the string taught so all your hearts are even}

since you started the garland with the first heart in the middle of your string- make sure
you finish 6 heart on the right side of your middle heart & 6 hearts on the left side of your middle heart
that's it- so simple & so quick!
* check out some of my other Valentines Day diy's here, here, here, here, here
2.03.2012
DIY ~ Crochet Heart Valentines
Last year we made these adorable crochet garlands found on Design Sponge for DIY club. My friend Emily showed us how. I didn't know how to crochet nor did any of the other girls. Once you got the pattern down- it wasn't too hard. If you already know how to crochet this DIY will be easy peasy- if you don't check out you tube to figure out terminology.

What You'll Need
yarn {isn't vanna pretty}
fun paper
heart hole punch
elastic or headband bought at the store
hair clips
thread {can match the yarn on your heart or the elastc}
sewing needle
scissors
crochet hook & exacto knife- Not pictured- cause I forgot...
paper- yarn & hole punch bought at michaels crafts
clips bought here


*now to figure out what to make for the boys! I'm thinking these from see jane blog would be fun
*** check out some of my other Valentines Day diy's here, here, here, here, here
Molly's are teeny tiny because she used fine crochet thread -
I used yarn so they are a bit bigger- aren't these are so adorable

I crocheted the hearts then sewed some onto clips &
others onto headbands for my girls friends- then put them onto sparkly
card stock to make the Valentines- p.s. little girls love everything sparkly


What You'll Need
yarn {isn't vanna pretty}
fun paper
heart hole punch
elastic or headband bought at the store
hair clips
thread {can match the yarn on your heart or the elastc}
sewing needle
scissors
crochet hook & exacto knife- Not pictured- cause I forgot...
paper- yarn & hole punch bought at michaels crafts
clips bought here

1 ~ First crochet your hearts- directions here
2 ~ measure your child's head & assume everyones child has
the same size head as her

3 ~ sew your elastic together by overlapping
1/4 of an inch

4 ~ sew your elastic to the back of your heart-
using the heart to hide the part of the elastic you just sewed together

pretty cute eh?

when sewing your heart to a clip- make sure you hold
the clip open so that you're just sewing through the bottom part of the clip

cute even on nap head hair!

5 ~ now use your heart hole punch &
punch out your hearts

punch out your hearts

6 ~ write whatever you would like on the back- I had elsa write her name & I wrote idas
7 ~ for your paper hearts that will hold the heart clips- mark with a
pen where you want to cut little slits on the back
of your paper heart-
pen where you want to cut little slits on the back
of your paper heart-

use your exacto to cut the slits

8 ~ with the headband just wrap it around the heart
& tape the excess to the back

now make a ton more! the hearts really are therapeutic
to make -your girls or your boys girl friends will love them!

*now to figure out what to make for the boys! I'm thinking these from see jane blog would be fun
*** check out some of my other Valentines Day diy's here, here, here, here, here
Subscribe to:
Posts (Atom)